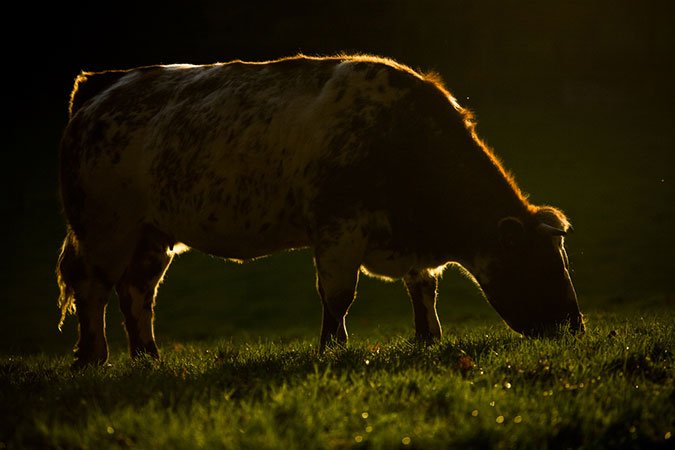
Have you ever seen a photo where the subject looks almost silhouetted by an outline of powerful light? Maybe the photo isn’t exactly the type of silhouette shot you’re used to- the subject is more visible than one might typically see in a standard silhouette capture, but there is still a definitive glow surrounding the point of attention in your composition. This is called rim lighting, and it’s an excellent technique to experiment with if you’re looking to add something special to your images.
Not only does this method help you perfect great lighting skills as a professional or hobbyist, it also really contributes to the effort of making a subject pop against the background elements. If this sounds like a technique you’d like to try working with, there are a few simple things you should keep in mind getting started.
Firstly, when attempting to create a rim lighting shot, it’s important that you position yourself so that the subject is placed between you and the source of light you’re working with. So if you’re trying to create a rim lighting glow around a shot of a toddler playing outdoors, for example, you should be kneeling in front of the toddler, and the sun (your light source here) should be behind the baby’s back.

Second, just like capturing the perfect golden hour glow, there are actually certain times during the day in which you’ll have better luck achieving a rim-lighting effect. We recommend you head out when the sun is low in the sky. If you try to rim-light a shot during the middle of the day when the sun is high in the sky, the conditions are way too bright and the lighting will be much too harsh to create the gentle outlined glow we’re referring to.
Third, try to be careful with the background scenery you’re working with. For the most part, the rim lighting effect works better if your background is dark. So to refer back to our original toddler photo shoot example, consider having the baby play in an area where there will be some leafy trees or large bushes behind him or her.


