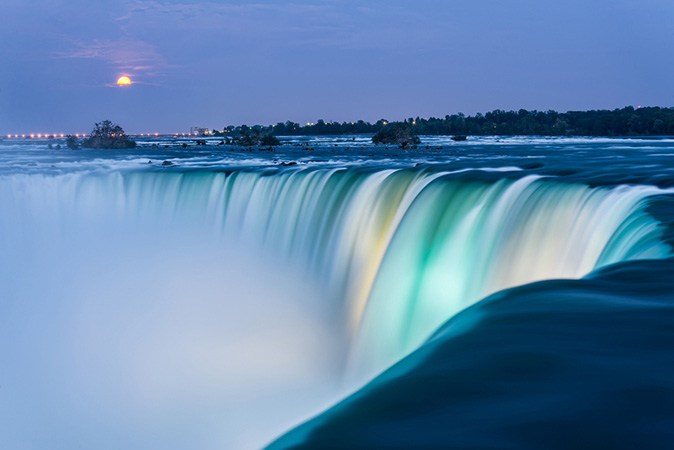
Have you ever seen a professional nature and landscape photography shot where the water in the composition appeared silky smooth? This is a common technique for expert landscape photographers, and one worth trying on your own. There are a few simple adjustments even an amateur can attempt in order to practice capturing this unique look.
How to Blur Water in Your Photos- Use Manual Mode
- Work in RAW
- Slow Your Shutter
- Use a Tripod
First of all, you will need to work in manual mode for this exercise. You’ll be making adjustments to your shutter speeds here as you calculate which settings achieve the look you’re going for, and you don’t want your device’s auto mode to start readjusting your other settings in correspondence.
You’ll also want to shoot in RAW. Post processing is half the battle when it comes to perfect long exposure work, so you’ll need to tweak and edit later on.
Firstly, unlike what you’re probably used to doing for outdoor work, you will have better luck achieving this look if you limit the amount of light you let into your shot. This will allow your shutter to stay open for as long as it can, which is crucial when capturing this silken look. Try something even slower than 1/60th for the best results.
This is always a crucial addition when it comes to any sort of long exposure work. With shots like these, even the slightest shake of your hand or breeze could distort the image.
If you’re unsure how to make adjustments to your shutter speed or how to switch your camera into RAW or Manual Mode, check out a comprehensive digital camera tutorial for help getting started.


