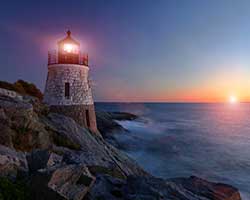
The New York Institute of Photography is one of the world’s largest photography schools and because we are, we often publish fun and useful photography tips on our photography blog. Please enjoy!
1) Expose to the Right (ETTR)
To render the area behind the orchids as white I overexposed the image slightly. This is called "ETTR" (exposing to the right). In this case it helped to eliminate a distracting background. In short, the trick is to meter the background and put it around +3 so it's truly white. I do this by manually exposing and checking the histogram to make sure the data is close to the right hand wall without being blown out.

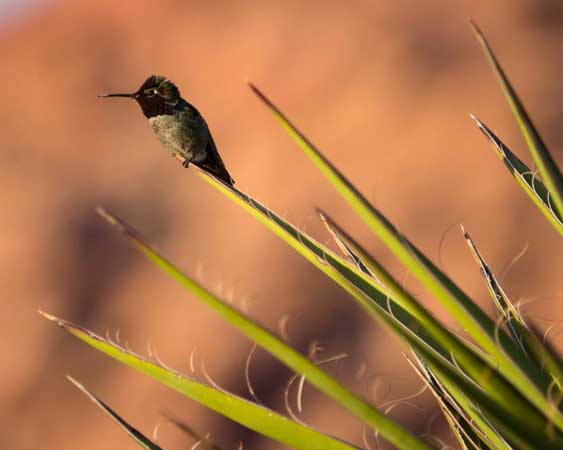
2) Make Your Background Out of Focus
There are a few tricks you can use to make your background look out of focus while keeping your subject sharp. First, you'll want to use your longest lens. An 18-55mm won't work nearly as well as a 55-200mm. Use the lens at the end of its focal range, for example 200mm. Next, you'll want to select your widest possible aperture, let's say f4 or f5.6. This will give you very shallow depth of field. Try to find an angle where there is at least a few feet of separation between the subject and the background. Finally, get closer to the subject and place the focal point on it.
3) Compose with Your Feet
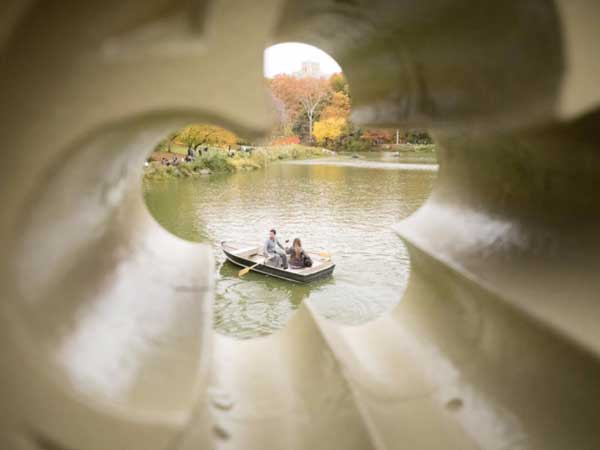
At nearly every scenic vista or photographic landmark, you'll notice a definitive dirt spot where grass once grew. This well-worn spot is the final destination for scores of tourists who shoot the same photo year after year. Rather than following the crowd, take a quick loop around the area and search for unique perspectives. Perhaps it involves lying down, or finding a raised vantage point. Maybe you'll come across an interesting element to add to your foreground. You'll work a bit harder this way, but the effort can lead to unique captures of a heavily photographed site. In his book "You Can Do Anything," author James Mangan wrote, "The narrow mind stays rooted in one spot; the broad mind is free."
4) Use a Long Lens for Landscapes
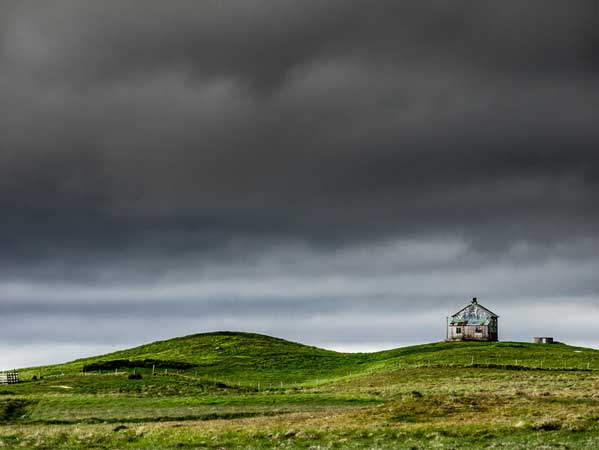
It's rare to come upon a landscape that doesn’t require decluttering. Common sights include power wires, fences, trailhead signs, unsightly dirt patches, and dumpsters. You can try to compose with your feet at first, but what about those situations when you can't go any further? Where a wide angle lens falls short, a telephoto in the 70-300mm range will be very useful. With it, you can pick the precise area where all of the essential elements come together, and work to eliminate everything else.
5) Drag the Shutter
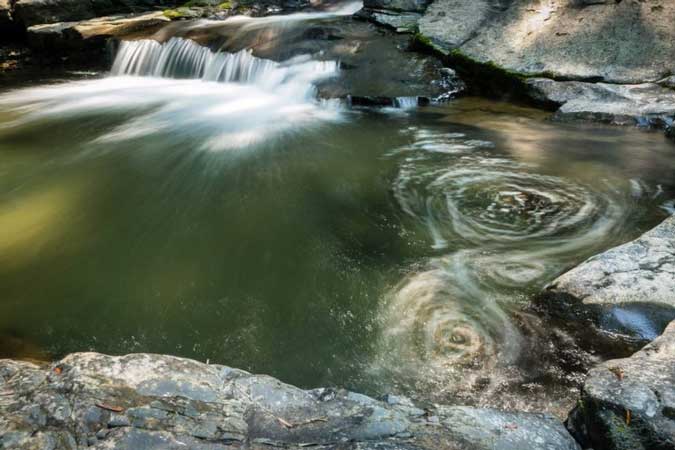
By showing the motion of a subject, it's possible to push your camera to the extreme, and capture a side of life that's not evident to the naked eye. When scrolling through your shutter speeds, you'll eventually reach the numbers followed by a single quotation mark that denotes "seconds". For example 1" means the shutter will stay open for one second. 5" indicates a five seconds exposure. This image was captured at 2" to show the circular motion of the water as it pooled in the rocky nook.
Want to learn more? NYIP offers accredited photography classes that can help you learn photography or start a new career. Request your free course catalog today!


