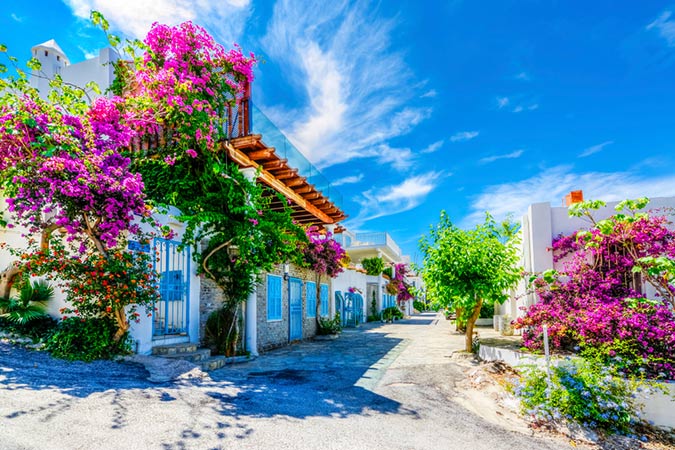
There is a common misconception among the photography community that HDR photography is in poor taste. Many people wrongly associate HDR with oversaturated and unrealistic, sloppy-looking images.
However, there are plenty of ways you can use HDR photography to seriously enhance and improve your shots- it would be a waste to write it off as a cheap technique or to ignore it altogether. Used professionally and with good technique, HDR offers wonderful results. Here are some tips on how to best capitalize:
First of all, HDR stands for high dynamic range, with range referring to the difference between the brightest and darkest spots within your picture.
Sometimes, particularly when it comes to nature and landscape photography and especially when influenced by certain lighting conditions, it can be hard to do justice to an outdoor image when you’re forced to choose between your shadows and your highlights, when really it’s the contrast and combination of the two that makes the scene so special.
That’s where HDR photography can be a true lifesaver. If you’re worried about the image looking too saturated, this is a great time to take advantage of your camera’s bracketing feature.
Take a Self-Paced Online Photography Course
Put simply, bracketing for exposure produces both lighter and darker versions of the same exact scene, which can be really helpful if you want to make decisions to help avoid a really deeply saturated look.

Once you’ve used the bracketing to your advantage to avoid that jarring, too-colorful look you might associate negatively with HDR, you’ll truly see the advantages it offers when used well.


